How to make a DIY corner bookmark!

Handmade corner bookmarks are extremely practical and slip over the corner of a book with ease. Customise yours by re-cycling wrapping paper or birthday cards. They also make great little thank you presents or can easily be slipped into a birthday card.
What you'll need to make a corner bookmark:
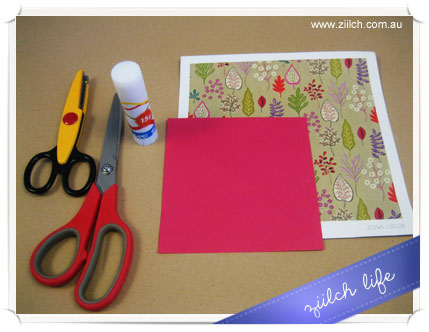
You will need:
- Straight scissors
- Decorative scissors for the trim
- Sturdy paper or card
- Decorative paper
- Glue stick
- Pen
- Ruler
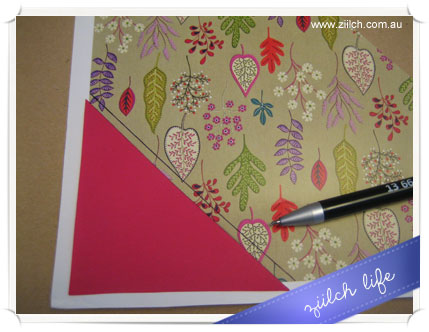
Step One
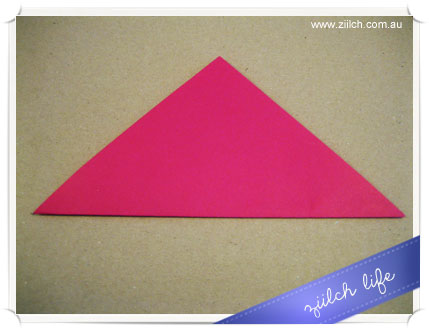
Measure and create a square that is 13cm x 13cm and then fold it in half into a triangle.
Step Two
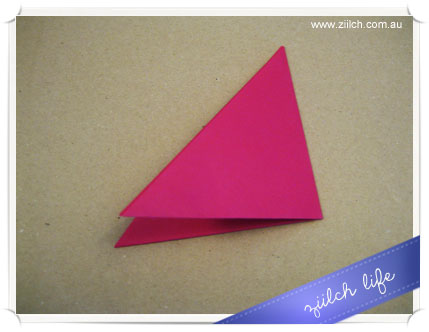
Fold the triangle in half again for a second time.
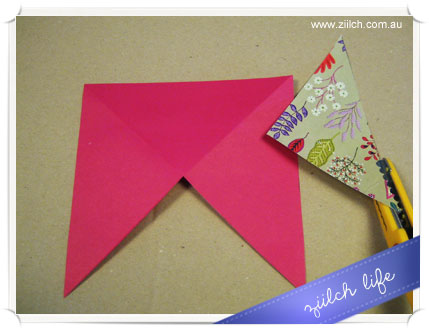
Step Three
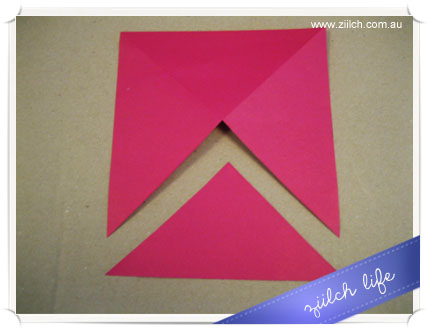
Open the piece of paper and then cut out one triangle.
Step Four
Use the triangle piece you cut out as a template to mark out the decorative paper.
Step Five
Cut out the triangle slightly smaller and then use the decorative scissors to create a scolloped edge on the longest side of the triangle. Make this cut approximately 0.5 cm in to allow the paper underneath to show.
Step Six
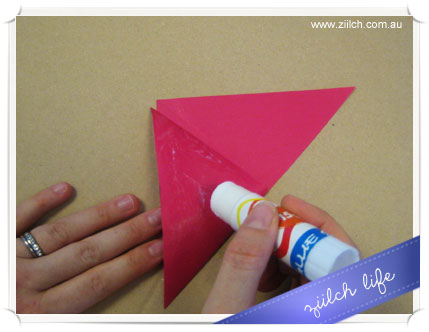
Apply glue to one side of a smaller triangle (next to where you cut a piece out) and then fold together so two pieces are now glued together and make a smaller triangle.
Step Seven
Apply glue to one side of the smaller triangle and attach the decorative paper
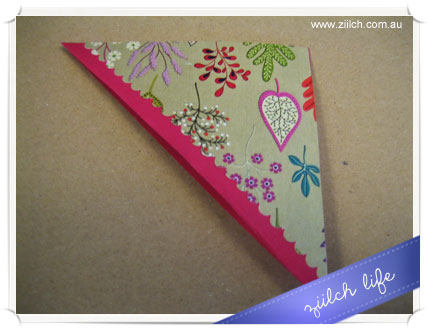
Finished corner bookmark
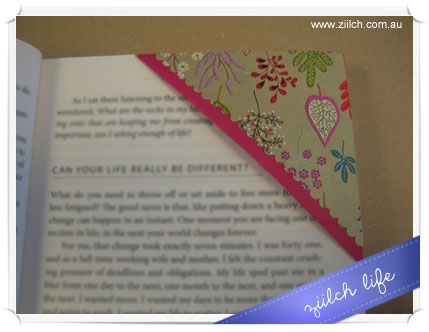
Your decorative corner bookmark is now complete.
Slide it over a page and it should fit nice and snug!